


Sun on your commute.
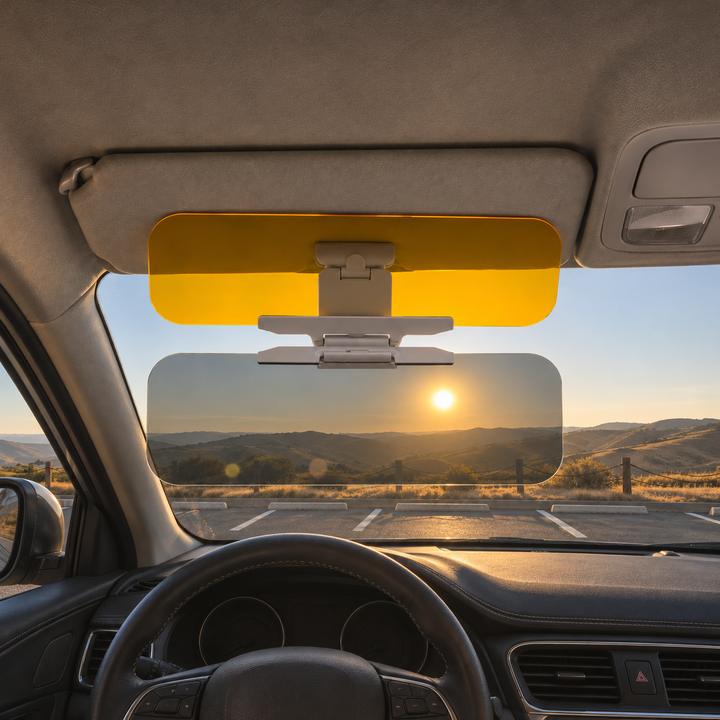
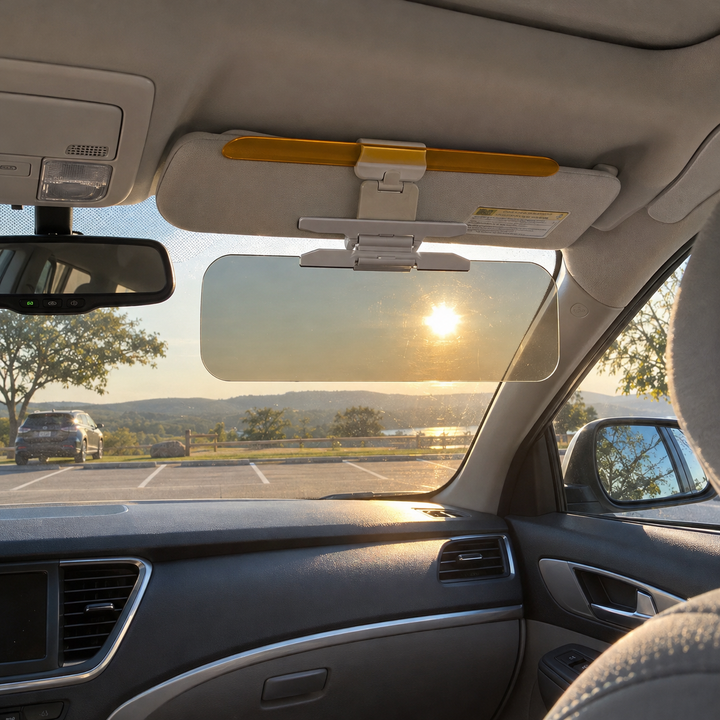
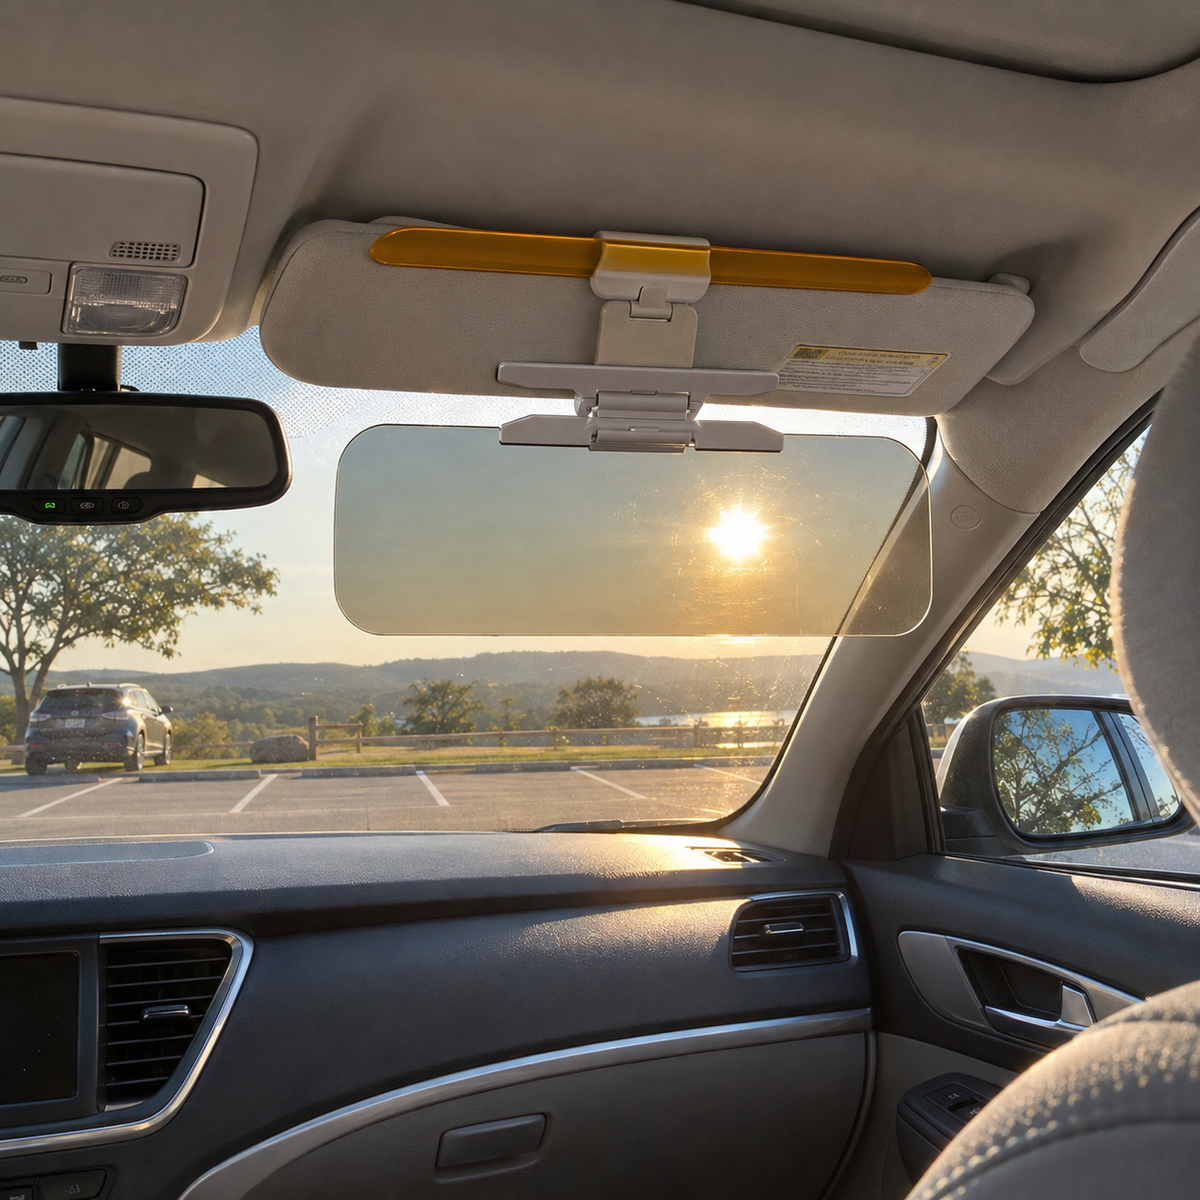
When your route faces the rising or setting sun, light can enter beneath the factory visor.
You're $49 away from FREE shipping!
180-day money-back guarantee from delivery. Contact support before returning for eligibility review. Buyer pays return shipping for personal-reason returns. Refund policy.
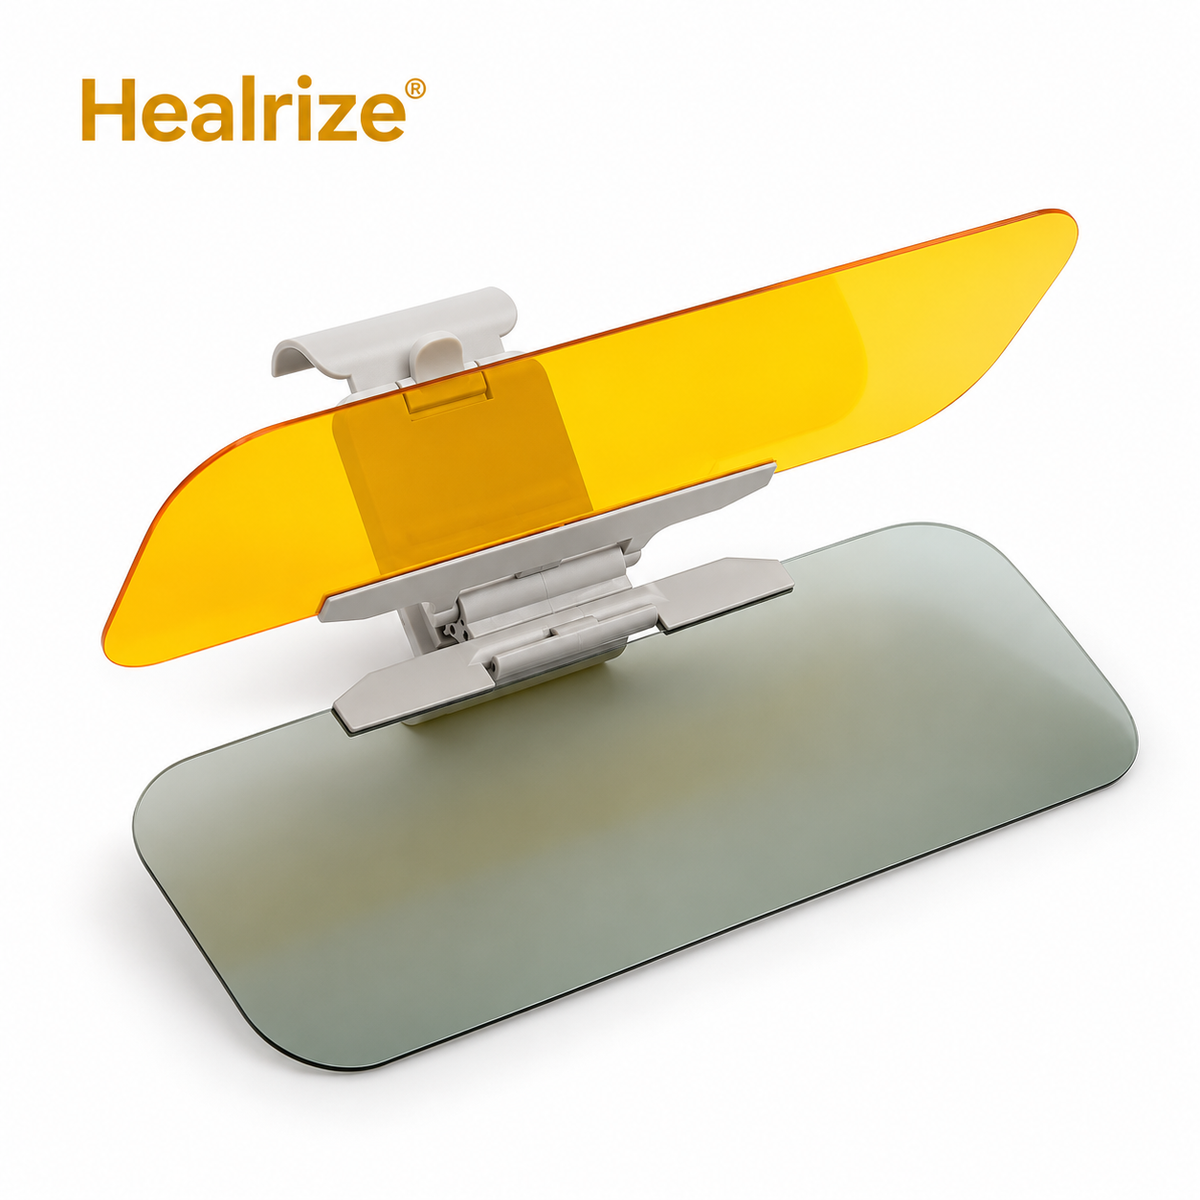
THE CLIP-ON VISOR BY HEALRIZE®
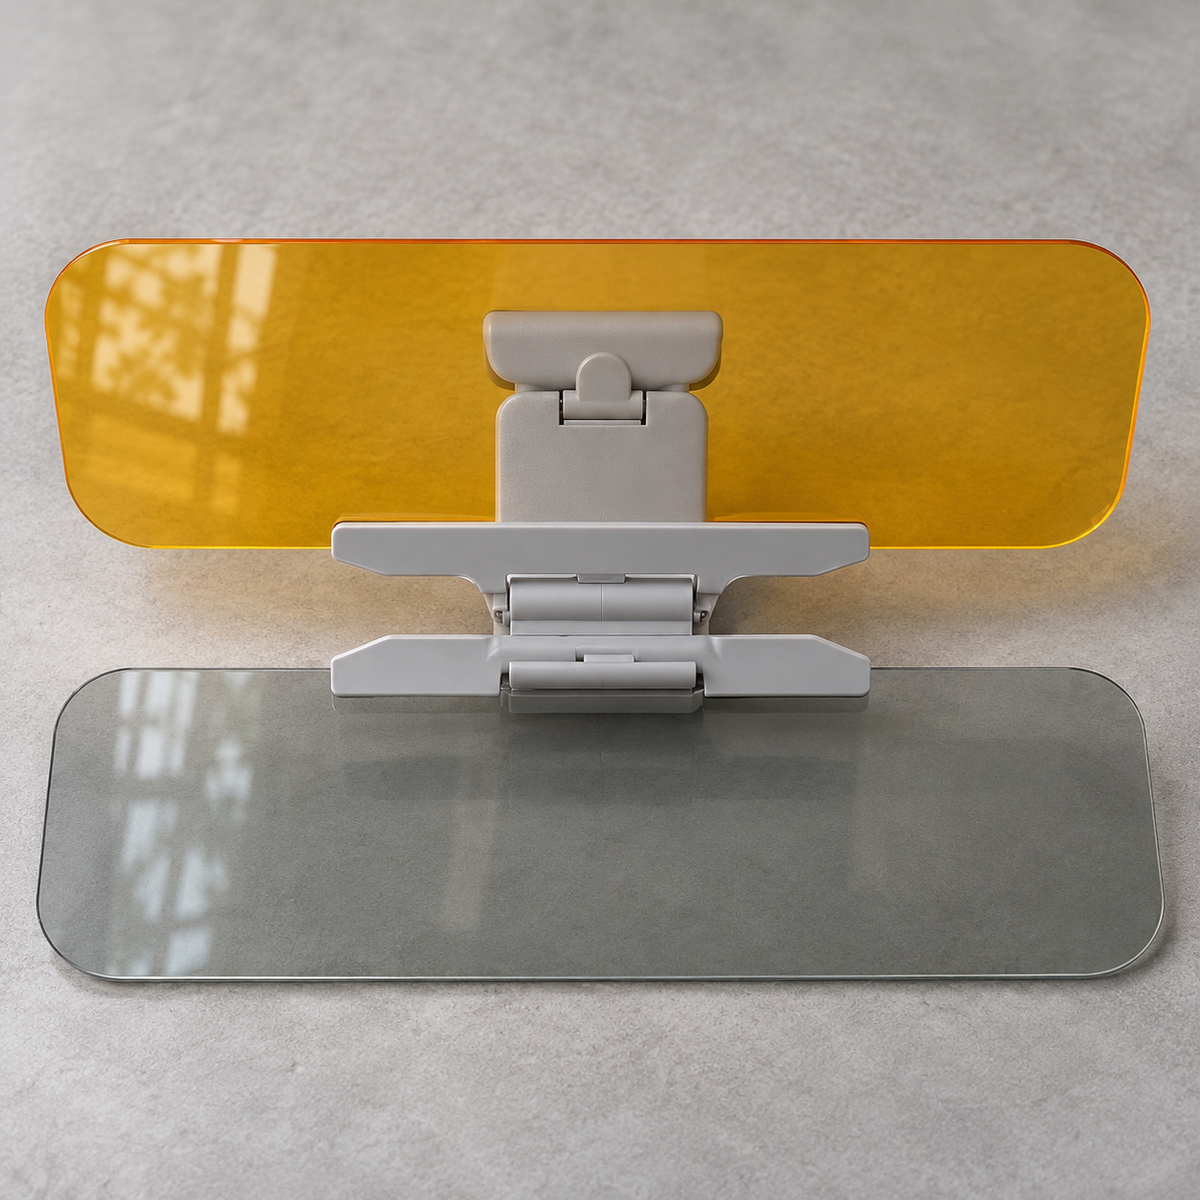
A clip-on, dual-tint visor for daytime sun, with a yellow panel the manufacturer describes for nighttime headlight glare. Optical performance and night-driving safety have not been independently verified.
From $29.96 USD · Both tint panels included

Maya Bennett
“Low sun below the visor is exactly the situation I was thinking about.”

Daniel Brooks
“I like the idea of keeping the visor already in my car and moving one tint panel at a time.”

Helen Carter
““I’m going to have one installed on the passenger side, too.””
YOUR EVERYDAY VISOR UPGRADE
Choose how many complete attachments you need. Each includes both panels. Gallery pictures explain the product and use cases; they are not optical-performance or night-driving safety tests.
Couldn't load pickup availability
Shipping and taxes are calculated at checkout.
180-day return requests, subject to eligibility. Ordinary returns must be unused; change-of-mind return shipping is your cost. Read the conditions.


LOW SUN. ONCOMING LIGHT.
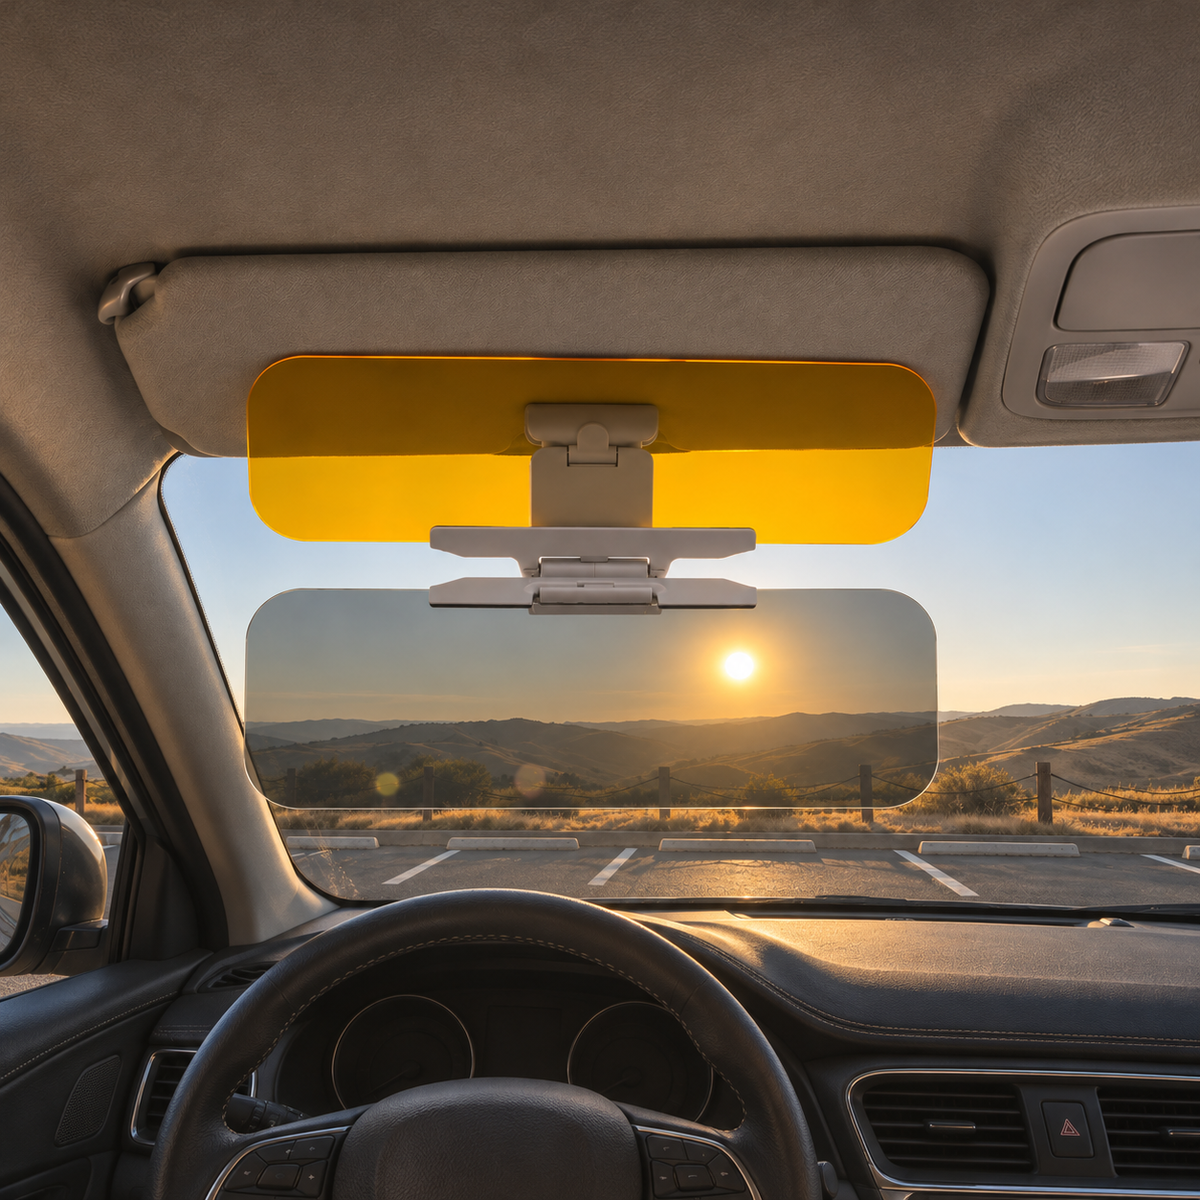
Morning sun can sit below your visor. Oncoming headlights arrive straight ahead. Different light calls for a closer look at what your visor can cover.
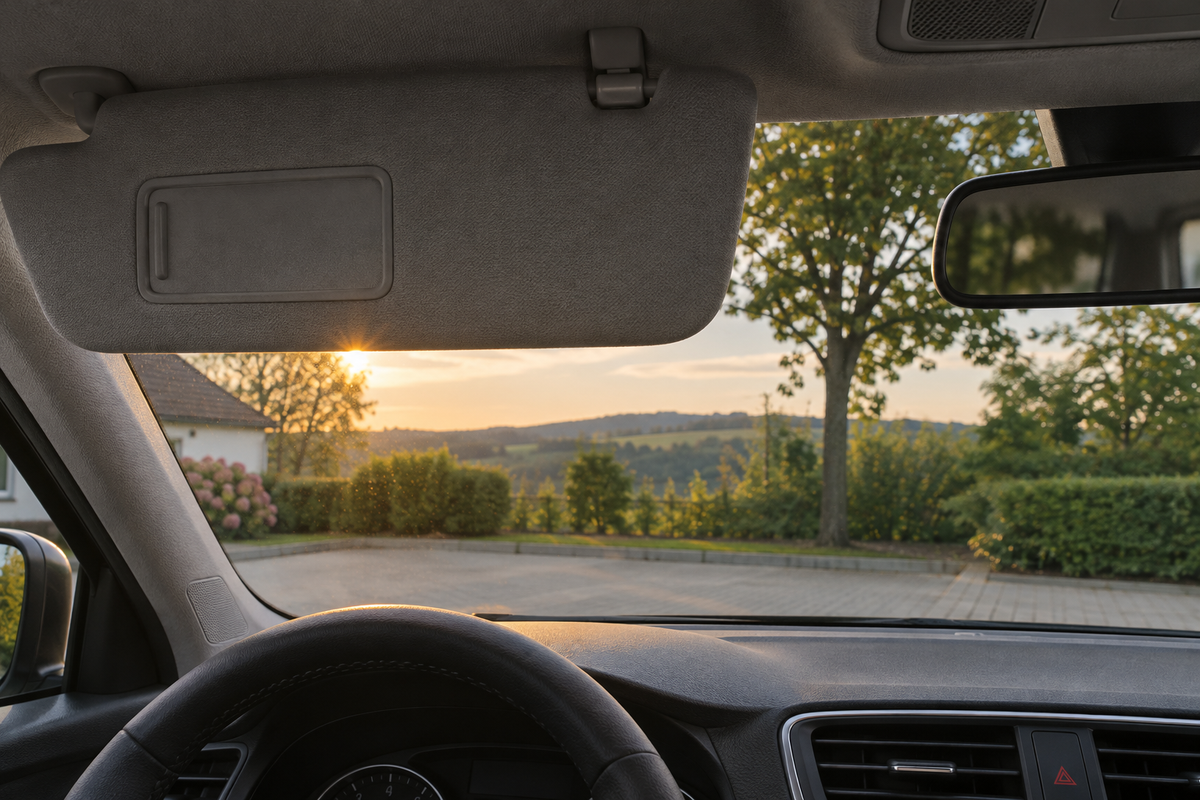
When your route faces the rising or setting sun, light can enter beneath the factory visor.
The manufacturer's materials also address glare from oncoming headlights, the intended use for the yellow panel.
Its opaque shape blocks the area it covers. An added tinted panel provides another position below that edge.
WHY ADD A SECOND LAYER?
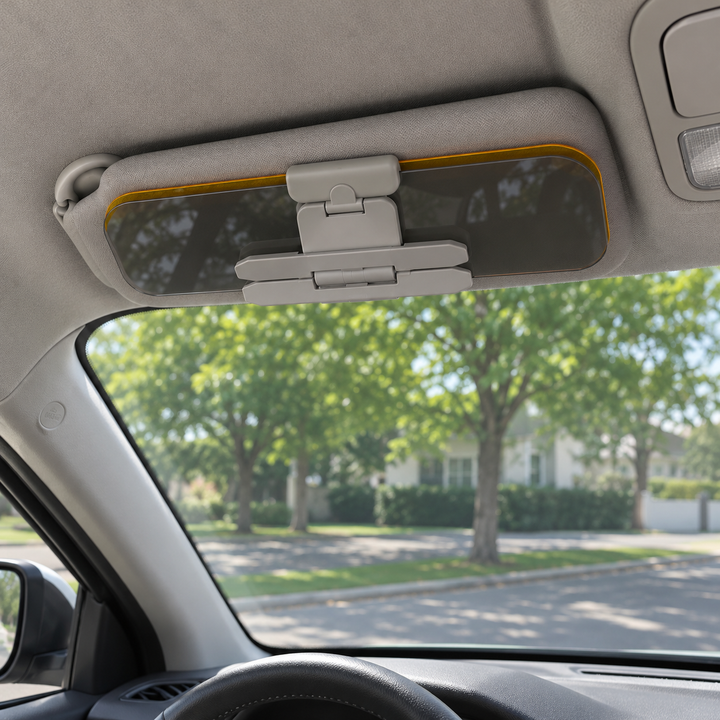
Your factory visor covers part of the windshield with an opaque surface. This attachment adds a see-through tinted panel below it, extending the area where you can position a shade.
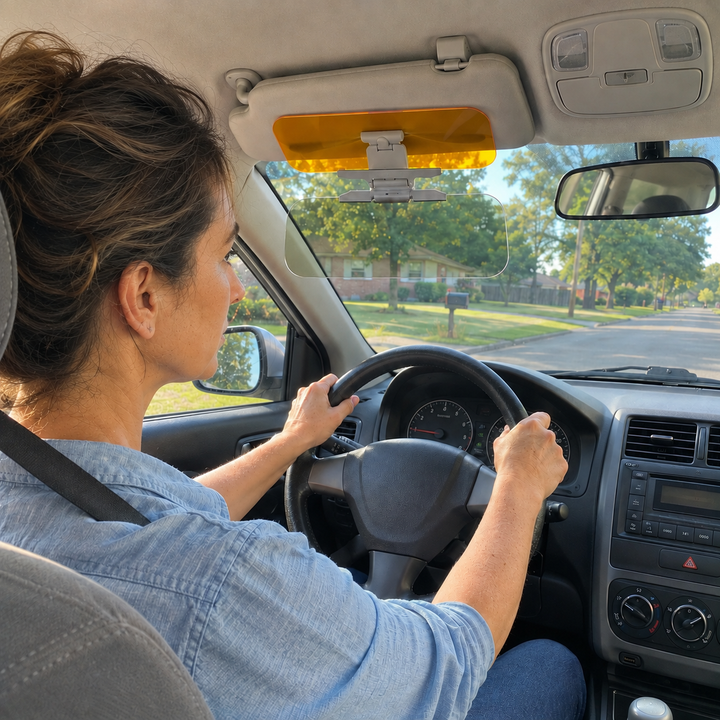
The panel's position, your seat and the direction of the light all matter. Adjust while parked and keep your required road view clear.
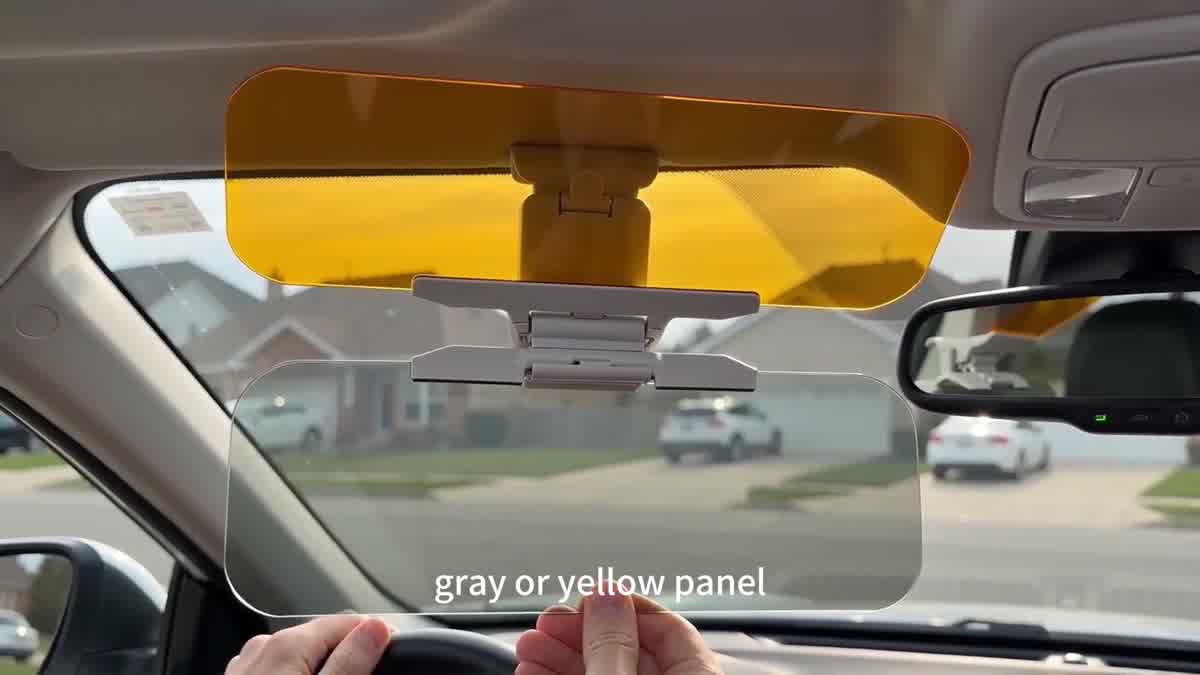
Your factory visorStays in place
Tinted extensionAdditional position below the edge
CHOOSE ONE PANEL AT A TIME
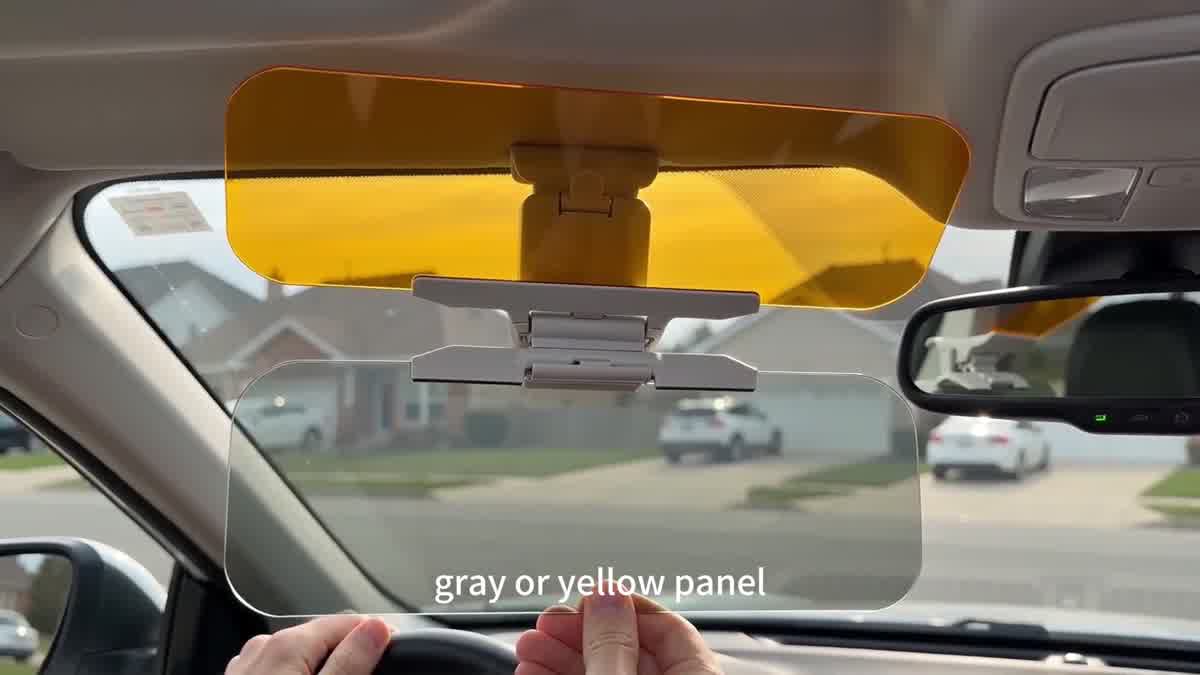
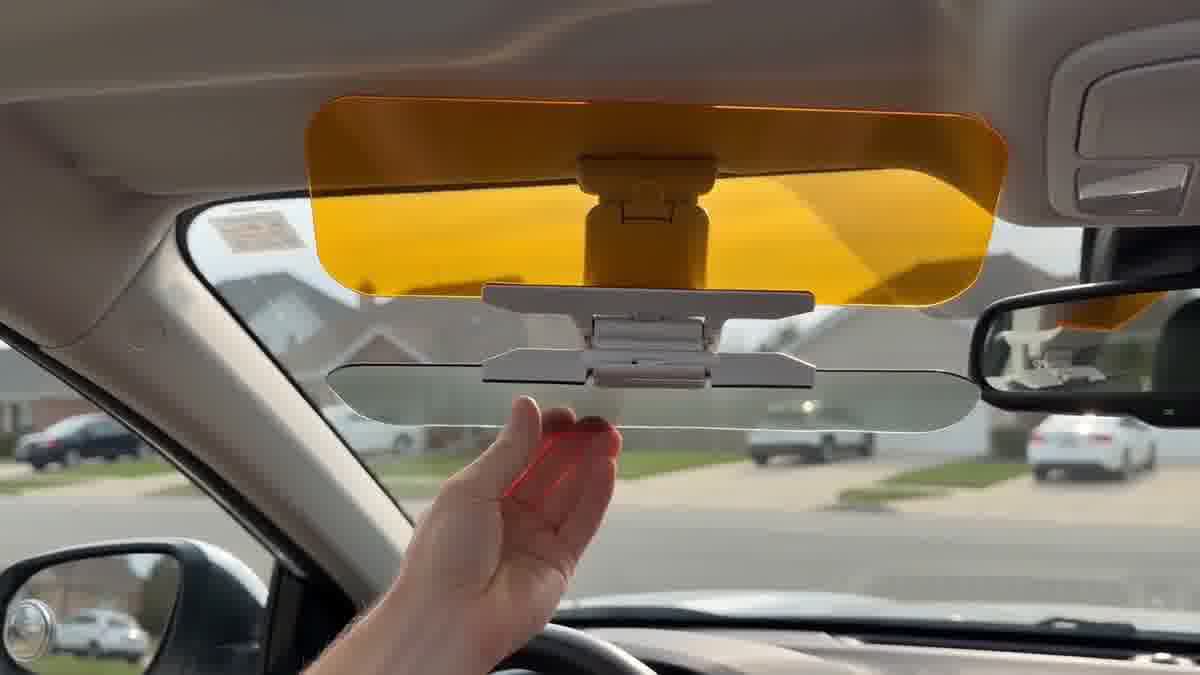
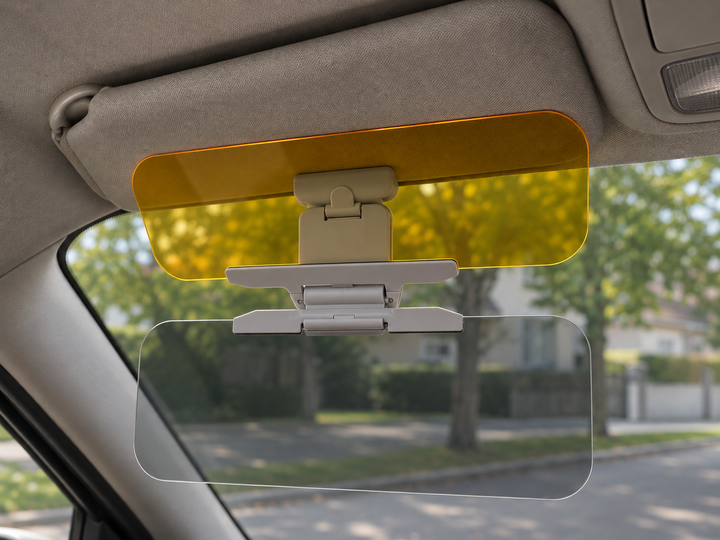
Separate hinged connections allow one panel to move while the other stays raised.
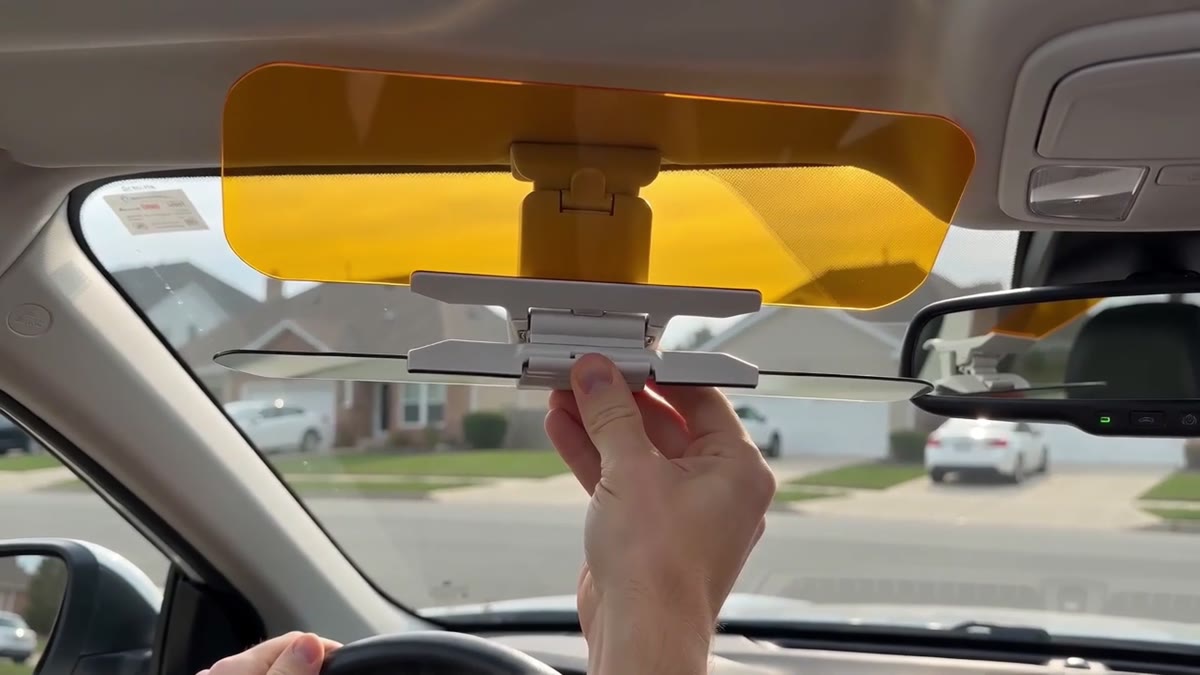

A short excerpt from the original demonstration shows the gray panel lowering while the yellow panel stays raised. Adjust only while safely parked.
 1233
The manufacturer's daytime option for bright sunlight, including low sun ahead.
The manufacturer presents the yellow panel for reducing glare from oncoming high beams. This is a product claim, not an independently verified visibility result.
Use one panel without lowering both. Raise any tint that makes the road harder to see.
 ABCC
A CLOSER LOOK AT WHAT YOU GET
A PLACE FOR EACH POSITION
The same attachment stays together as you change its position.
BEFORE YOU CHOOSE
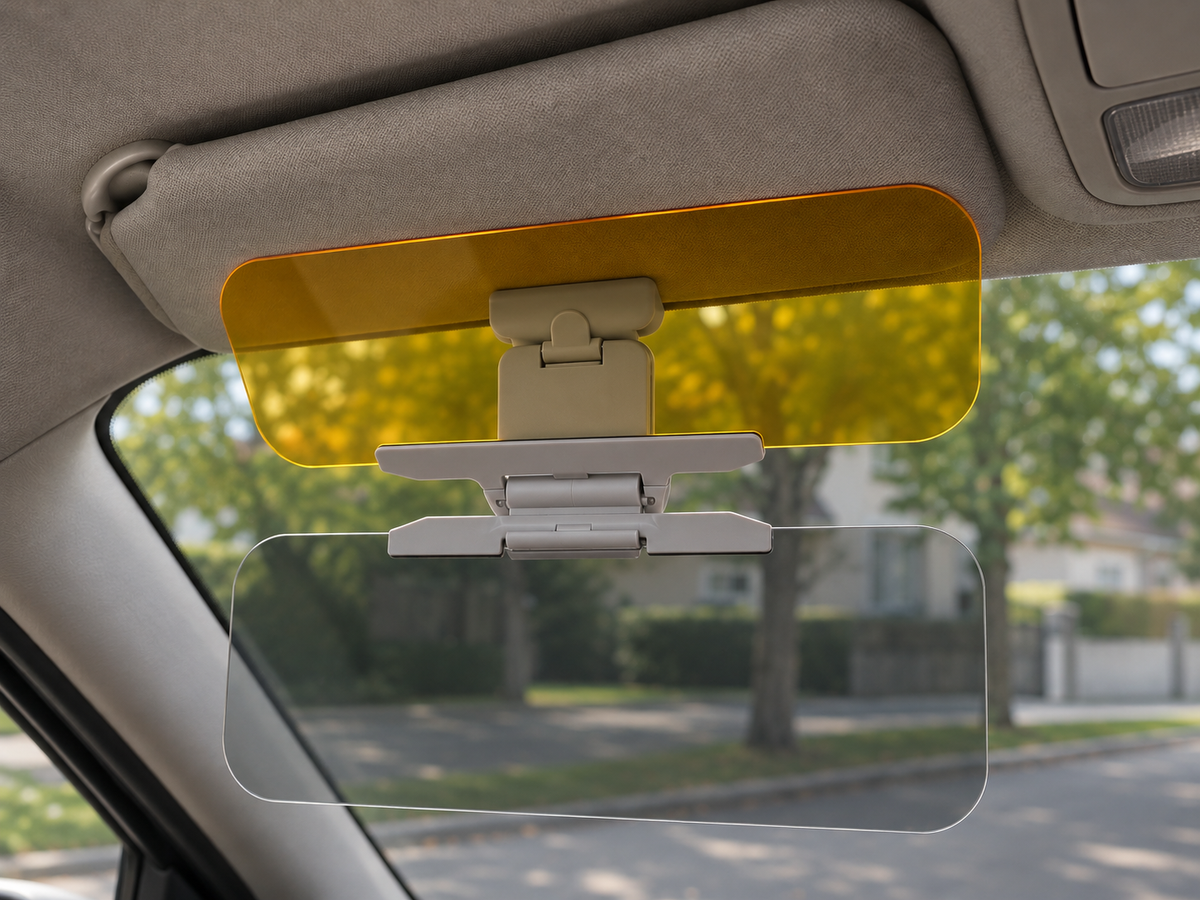
Note its shape and thickness where the clip would sit. The clip-opening range is not currently listed, so ask us before ordering if the fit is uncertain. Before use, check that the clip sits securely. If it is loose or shifts, do not use the attachment.
Allow room around both panels. They must not interfere with mirrors, vehicle controls or the original visor’s movement.
While safely parked, check your required road view. Do not use a position or tint that makes visibility worse.
Send support a photo of the visor edge and its thickness measurement. We can help identify what still needs checking.
WATCH THE ORIGINAL PRODUCT DEMO
See each panel lower and fold upward. The original footage starts with the clip already attached.
Check the visor edge, then fit the mounting clip.
Lower one panel. Keep the unused panel raised.
Fold the panel upward when it is no longer needed.
Work only while parked. Use a clean, soft, lint-free cloth lightly dampened with water; do not rub the panels dry.
Gently wipe without pressing or scrubbing. Avoid abrasive pads, household glass cleaners and polishing products unless compatibility is confirmed.
If a panel looks cloudy or scratched, or the attachment is loose, stop using it until checked. Exact cleaner

FOR THE ROUTE YOU KNOW
Before a commute or a shared journey, check the setup from the seat you will use. A passenger visor needs its own fit check.
Set the position while parked. Keep the road view and controls clear.
THE REASONS, BROUGHT TOGETHER
An extra position below the factory visor.
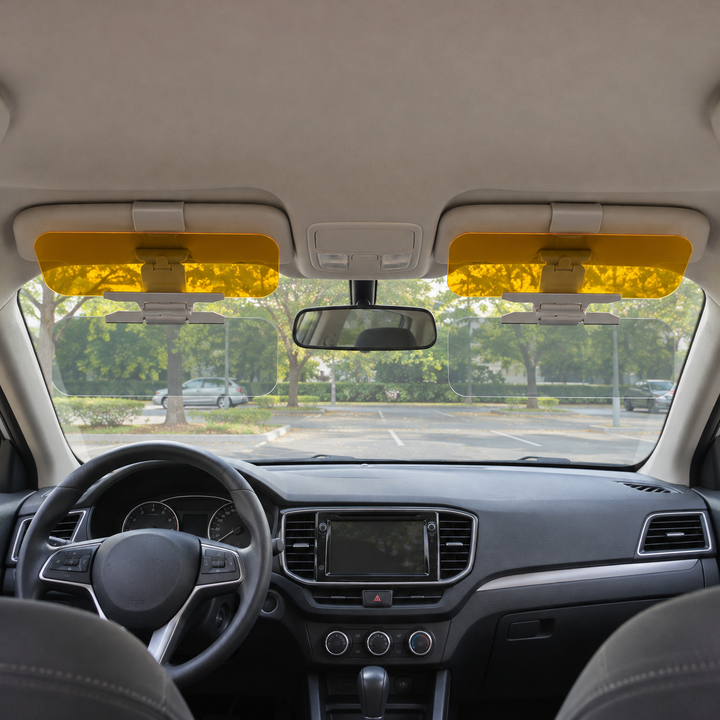
See the placementDark and yellow panels in each set.
See both panelsPosition each panel separately.
Watch the movement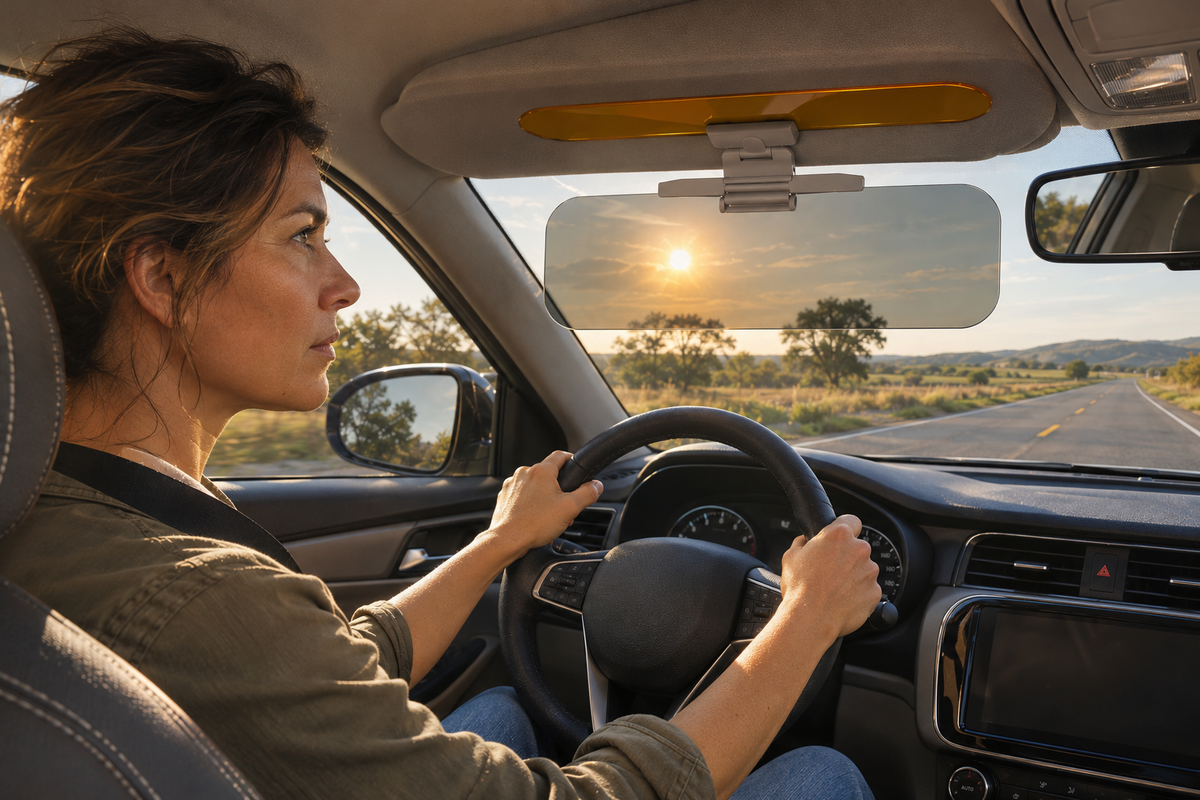
One complete attachment. Both panels.
GOOD INFORMATION GOES WITH THE PRODUCT
At sunrise and sunset, light may reach beneath an overhead visor. Your route and seating position affect where it enters.
Read VDOT guidanceThe manufacturer's materials mention rain, snow and reflections. They do not establish that this attachment improves visibility in those conditions. Keep the windshield clear and defogged.
Read NCDOT guidanceThe yellow panel's stated purpose is headlight glare. It does not create light or establish safer night driving. Raise it if it makes the road harder to see.
Review the setup checksDECIDE WHAT YOUR SETUP NEEDS
DESIGN PREVIEW
More than 20,000 customers gave it a good rating.
Maya Bennett
“Low sun below the visor is exactly the situation I was thinking about.”
Daniel Brooks
“I like the idea of keeping the visor already in my car and moving one tint panel at a time.”
Helen Carter
“I’m going to have one installed on the passenger side, too.”

Alex Morgan
“A panel I can raise when I don’t need it fits how I would want to use an add-on.”

Jordan Ellis
“This has been a huge help—I no longer have to endure blinding sunlight while driving.”

Taylor Reed
“I’ll first count the number of seats to be installed, and then select the appropriate set.”
THINK ABOUT YOUR EVERYDAY ROUTES
Start with where bright light reaches you most often, then choose how many compatible visors you want to equip.
Repeat all three checks.
CHOOSE THE SET THAT FITS YOUR DAY
Every attachment includes the mounting clip and both tinted panels.
1 complete attachment(s)
$29.96 USD
Approx. per attachment: $29.96
Choose Buy 12 complete attachment(s)
$53.93 USD
Approx. per attachment: $26.97
Save vs. buying singles: $5.99
Choose Buy 2 - Save 10%3 complete attachment(s)
$71.90 USD
Approx. per attachment: $23.97
Save vs. buying singles: $17.98
Choose Buy 3 - Save 20%4 complete attachment(s)
$83.89 USD
Approx. per attachment: $20.97
Save vs. buying singles: $35.95
Choose Buy 4 - Save 30%KNOW THE TERMS BEFORE YOU BUY
A return-request window from the day your order arrives. Eligibility and conditions apply.
Support reviews eligibility and provides return instructions. Keep your proof of purchase.
Items must be unaltered and in original condition, with the original packaging, accessories and product documents.
For change-of-mind or wrong-selection returns, you pay return shipping. Original delivery fees are not refunded unless required by law or agreed in writing.
After receipt, inspection and approval, refunds go to the original payment method. Timing depends on your payment provider. The full policy explains any permitted deductions.
Damaged, defective or incorrectly supplied goods, and mandatory local rights, are handled under the policy’s applicable exceptions. This is not a free-trial or unconditional refund offer.
Read the full return conditionsMethods, charges and estimated timing depend on your address. Estimated dates are not guaranteed.
Delivery policyTracking details are sent after dispatch and tracking activation. Orders may arrive in separate parcels.
Tracking detailsContact us promptly with your order number and photos of the item, packaging and shipping label.
service@rhappody.comTHE DETAILS, MADE CLEAR
A few useful answers about fit, what is included and using your visor.
No universal fit is promised. Check the visor edge, thickness, folding space and your road view. The listed 32 × 13.5 cm size is not the clip-opening range. Ask support before ordering if you are unsure.
Yes. Every complete attachment includes both panels on separate hinges. The manufacturer presents the dark panel for daylight sun and the yellow panel for oncoming headlight glare. The pack option changes the number of complete attachments, not the tint.
No. This clips onto a compatible existing visor. Install and adjust its position only while safely parked.
Keep one panel raised while positioning the other. Fold away any panel that makes visibility worse, and keep mirrors, controls and your required road view clear.
The manufacturer presents the yellow panel for reducing glare from oncoming high beams. The supplied comparison is promotional, not an independently verified optical or night-driving test. It does not provide night vision. Raise it if it makes the road harder to see, and adjust only while safely parked.
Specific cleaner, coating and heat limits are not listed in the current product details. Follow any care instructions supplied with your item, or ask service@rhappody.com before using a cleaning product or method you are unsure about.
Available delivery methods, charges and estimated timing are shown at checkout for your address. Estimated dates are not guaranteed. Tracking details are emailed after dispatch and tracking activation; orders may arrive in separate parcels.
You can submit a return request within 180 calendar days from receipt. Contact support before sending anything back. Ordinary returns must be unused, unaltered and complete with original packaging and proof of purchase. Change-of-mind return shipping is your cost. See the full return policy for exceptions, fees and refund approval.
Contact service@rhappody.com promptly with your order number and clear photos of the item, outer packaging and shipping label. The team reviews the issue and the applicable remedy under store policy and local law.
The manufacturer's materials mention these lighting situations, but no verified performance data is supplied for them. Do not rely on this attachment to improve poor visibility, prevent glare-related injury or make driving safer. Raise any panel that darkens or obstructs your required view.
A QUESTION BEFORE YOU CHOOSE?
Ask about the product, your order or a fit question.